| ||||||||||||||||||||||||||||||||||||||
| ||||||||||||||||||||||||||||||||||||||
|
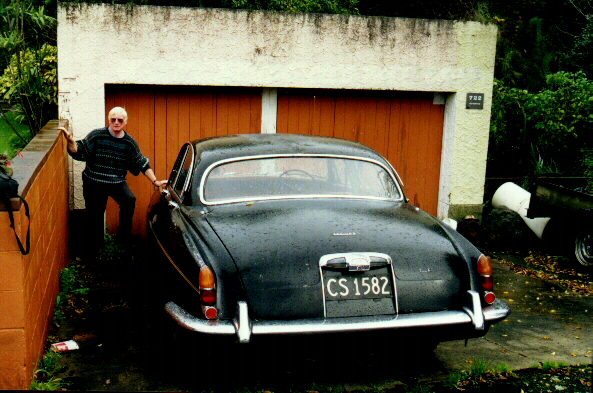
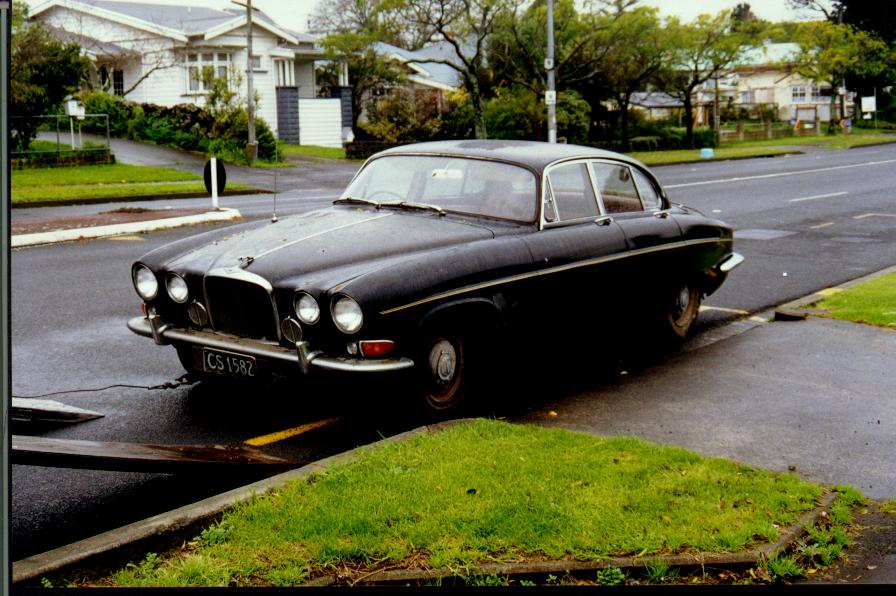
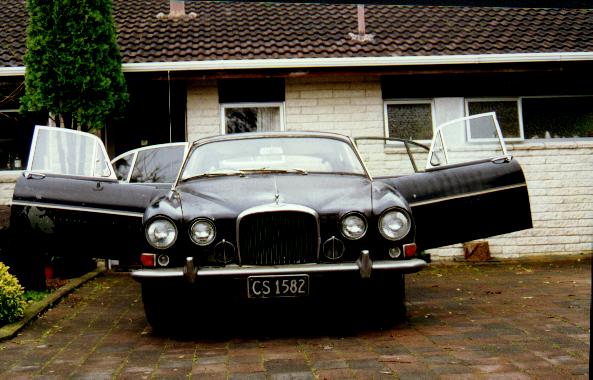
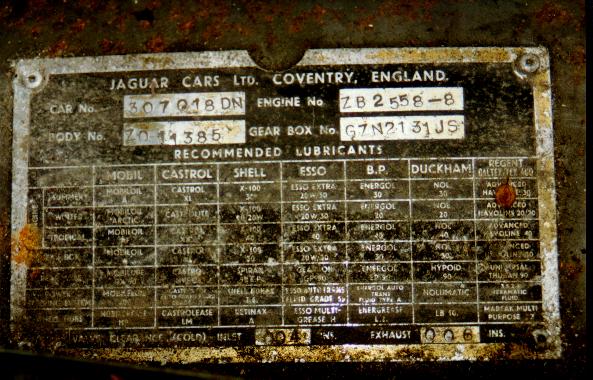
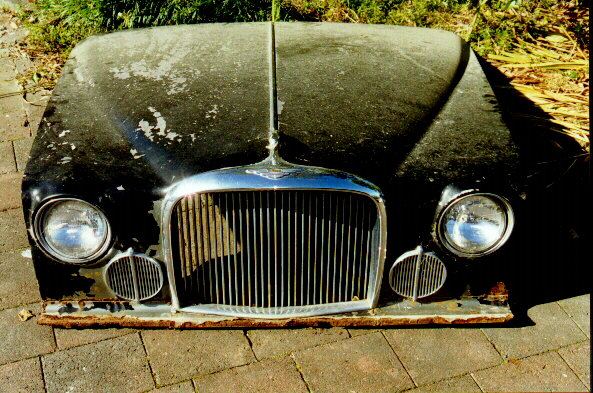
64 3.8 Mk X 307018 DN
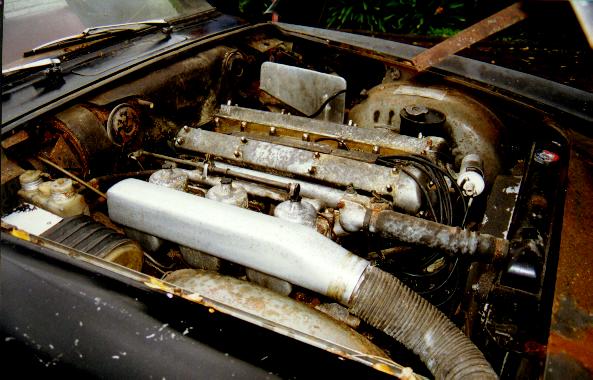
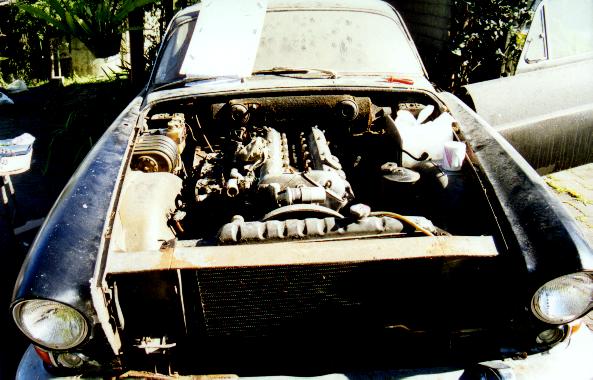
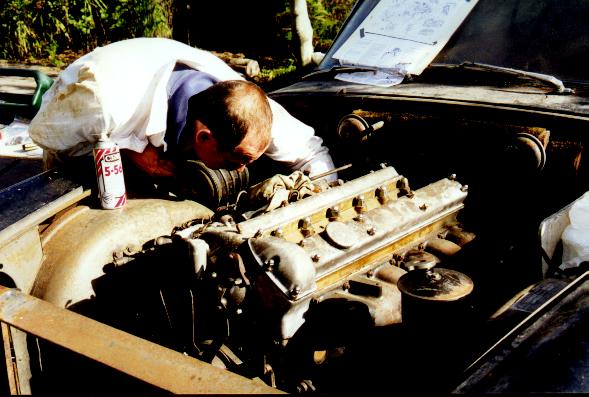
A couple of weeks ago we started the strip down of the engine bay on our '64 3.8 Mk X (10) (ten-ten not ten-four) chassis 307018 DN ready for her major coronary surgery. *Warning* this piece could take all night to read!! get refreshment to hand! With copies of the relevant pages of the workshop manual stuck on a sheet of wood we set ourselves up. it was just like ER... a table alongside the car with all the tools laid out. "1/2AF please" - scrape scrape, twist, curse, turn. "9/16AF please"... heave, push, spray WD40. hmmm, "Scottish Persuader please" (a hammer to the uninitiated)... tap tap - ahhhh. The bonnet was interesting - we found out it weighs about 25 tonnes
and needed an army to lift it out of the way! Now we see the need for those
massive torsion bars on the hinges... With the bonnet off reaching most
things was a breeze although the workshop manual is a little terse with
its instructions ( the Haynes manuals do at least give you little tidbits
of advice on the extremes you will have to go to do carry out a job!).
The operation carried on nicely with an huge of roll of those bank "express
deposit" bags to hand in which to drop "Outer stay bar hinge retaining
bolts - washers missing" into. We had used ordinary coin bags from the
bank before but they are too fiddly and have little room for writing on!
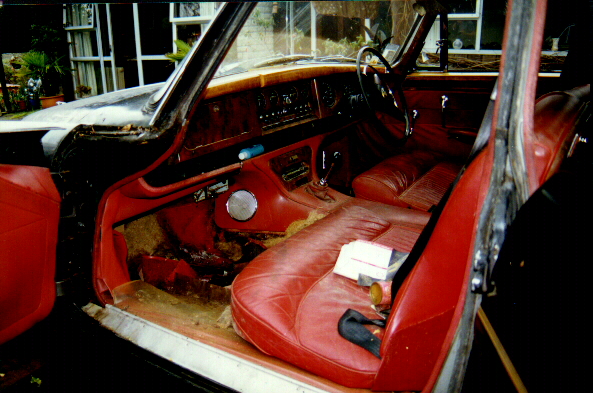
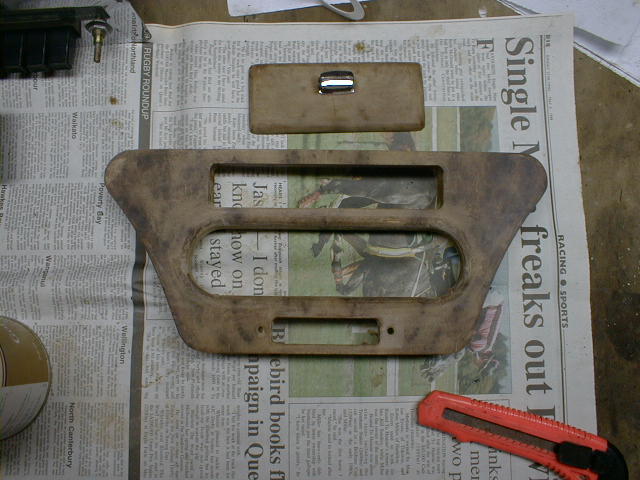
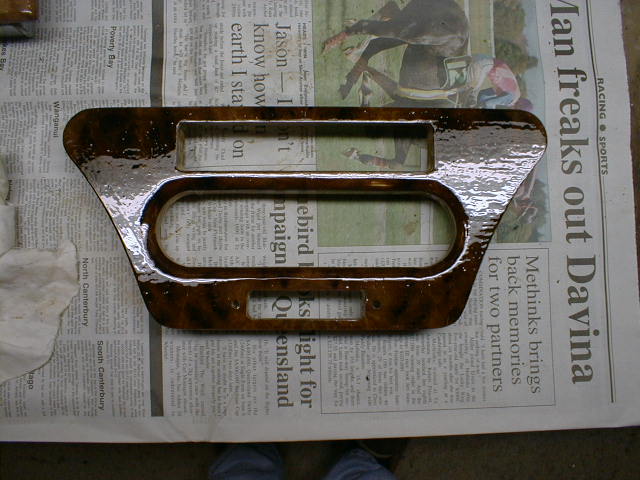
We soon found out that someone else had been there before us - we found washers missing, the occasional bolt missing and the wretched odd metric bolt head :)) The console came off pretty easily - most likely because half the securings were missing! On the underside of the console we found Joe Blogg's scribble telling us that it was made in October 1963... and that the colour should be red (as indeed the trim is!). After a days work and filthy hands we reached the stage where we could bring in the hoist and get ready for the actual engine to come out... Oh! forgot the exhaust pipes... grrreat - all seized up with rust on
the downpipe mounts. No amount of spannering has any effect. The rest of
the system is rusted to hell so we chisel off the down pipes :))
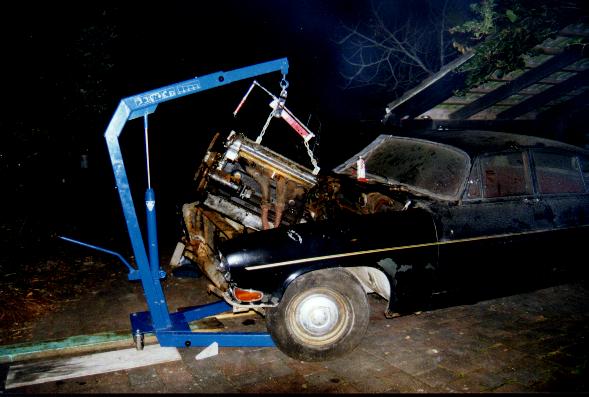
In spite of all your advice on the group we went for the lift out rather than the remove the suspension option (after all we have seen the pics in the classic magazines and the hoist method looked 'easy') hah! The hoist came from the local Jag club complete with an adjustable spreader bar for angle of dangle... (of which more later). Following the book to the letter we came to the propshaft disconnection. Through the hole in the body behind the gearbox I could reach one nut. Simple. OK, turn the shaft to reach the next one. Hah! can't turn propshaft cos the back wheels are on the ground. Simple! just lift one wheel. Jack up rear of car. Try to turn wheel - no show. A hard clunk. ???? We then found the universal joint (CV joint?) at the wheel wouldn't turn. The wheel, when lifted would flop around like it was going to fall off... bug*er. More stuff to worry about. OK, forget the wheel turning trick, disconnect propshaft at diff. Clang! just missed my head as the last bolt came out... Right, slither up to the gearbox and rotate shaft - great! try to turn next nut. Sh*t... the shaft turns too freely . Call John in to stick steel bar into intermediate UJ. Now two of us are dirty... Another three nuts off and... the bolts in the UJ don't come out - they only come out when you slide the gearbox forward. OK, no problem, let's get the engine on the hoist, free up the engine mounts and we'll be ready. (we remove the gearlever, speedo drive and wiring to the gearbox) "attach hoist to lifting straps on engine" - ???? what lifting straps? - there ain't none there! (we hadn't noticed this before). Off come four cylinder head nuts and on goes the lifting brackets which dangle from the spreader bar gadget. Take strain on hoist - so far so good. "remove engine stabiliser nut" piece of cake! "remove engine mount bolts" another piece of cake! "lower the gearbox end on the ("the"???) jack... they didn't say put one under there in the previous instructions... And... the gearbox won't go down 'cos the propshaft bolts are still in... Hmmmm. we have to move the engine forward enough to clear the propshaft bolts. Heave, Shove, Waggle. Nothing. More heave - a clunk. Three bolts are clear but the propshaft flange has now twisted and won't flop back enough to clear the last bolt. More heave and waggle on the hoist. Another clunk. The sump has hit the front suspension cross member. Lift engine gingerly. Bump. Sump is now clear of cross member but stabiliser bar is hard up against the mount. Lower engine a touch. Waggle. bang! propshaft bolt frees itself and sump hits cross member. Hooray we can do it! Adjust spreader bar gadget and engine starts to tilt, gearbox goes down. Then it stops. Poke fiddle, grope. What is stopping it? - the blasted stabiliser bar is now crazily angled in its mount and stuck with only a an inch to go before it is clear. Readjust spreader, stabiliser bar now *just* clear of mount on bulkhead. Waggle engine forward a touch and readjust the spreader. Engine now waves in the breeze but still inside the bay. Can't move more 'cos it has hit the front bar across the bay between the front wings. I see the timing mark pointer is bent. Damn. Try for more angle on the spreader and 'crunch' what now? More cursing, the stabiliser bolt has got stuck back in the mount frame and has bent... Remove bolt in base of stabiliser bar. Can we shift the flaming thing? can we hell. The rubber bush is tight in the flanges and with the engine angled we can't get anything in there to lever it out. Re-Readjust the spreader bar and shift engine backwards a touch. Bang! tachogenerator hits bulkhead and rips out one of its contact pins. More flaming repairs!!! More waggling and adjusting of spreader bar and we get the engine almost free when CRUNCH! the gear change box hits the firewall frame. Got to lower the back end more. But... we've reached the end of the travel on the spreader bar. Holy batcakes... A shove down on the gearbox end tilts the engine nicely but as I heave the hoist BANG! the sump hits the front bar, gearbox end comes up and we get stuck. (I'm am getting embarrassed and annoyed with myself even telling this story...) Back goes the engine an inch and we try again... with a heave and shove we get the thing free. The engine is now dangling free in the air and we sigh with relief - we are ready to smile and say "thank heavens that's over" when I look at the back of the engine and see bright shiny copper glinting... we've crunched the horizontal cam oil feed pipe :(( It seems it had hit the remains of the scuttle drain pipe (rusted away leaving nice sharp edges). Anyway - we can now smile at our fumblings and know for next time (next time? - why yes we have to get it back in and it will be all repaired and pristine...) we will make sure we have either a longer spreader bar gadget, or shorten the chains on the front lifting sling to get the crazy angle of dangle. But the situation with the stabiliser bar and the propshaft bolts will still be there - did we miss something? The angle of dangle for the sump to clear the front suspension member means that the back of the engine MUST hit the bulkhead doesn't it? - does it? I dread to think how it must be like for a MarkII engine to be extracted at least with the X it has a wide engine bay... We now look forward to cleaning out the engine bay, getting the front wing rust fixed inside where the air filters sit and.... well all of the work that goes with fixing these fine automobiles!
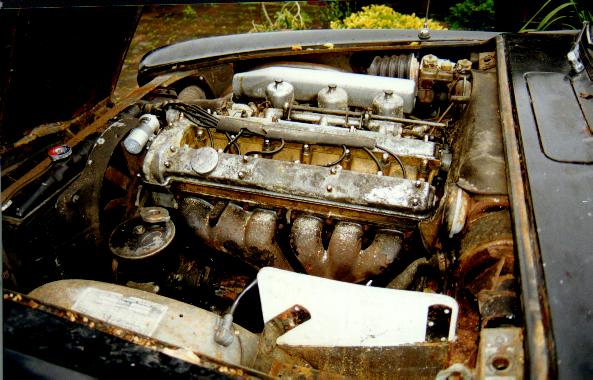
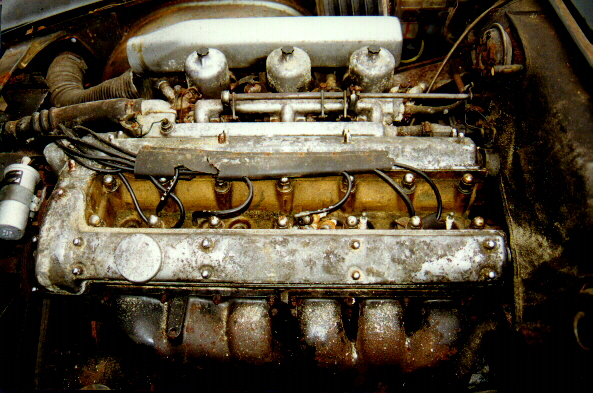
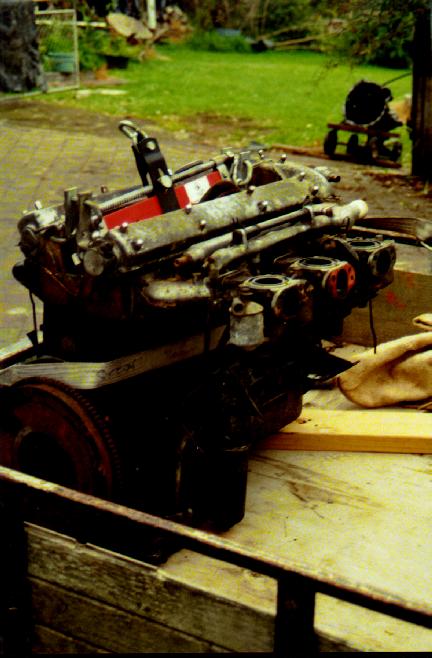
Our sad looking 3.8 motor ready to be taken to the cleaners. (gearbox in background just about to be degreased)
Now, where did we put those bags with all those bolts in? (thanks for the space to put down this sorry story) Neil & John (Auckland NZ) MkIX 1960 - MkX 1964 - Mk10 '65 420 '67 - MkV 1950
Last Update 10 June 1999
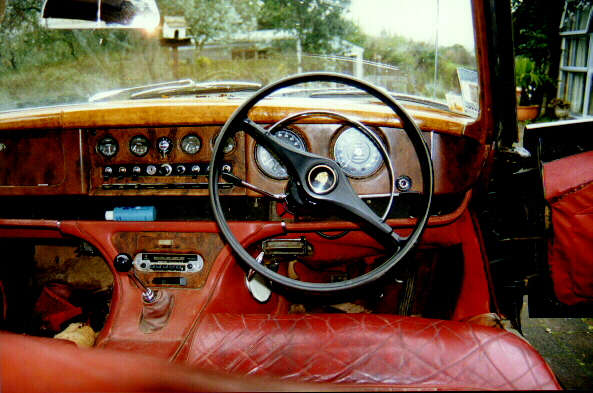
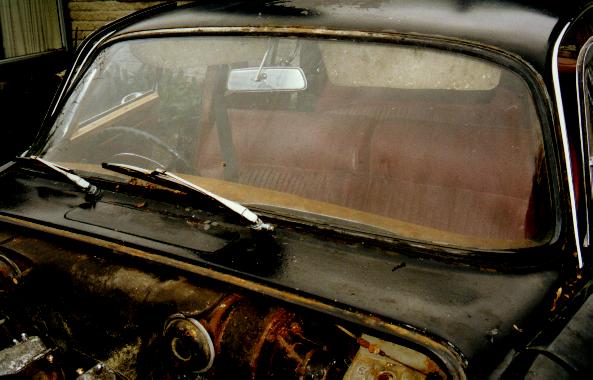
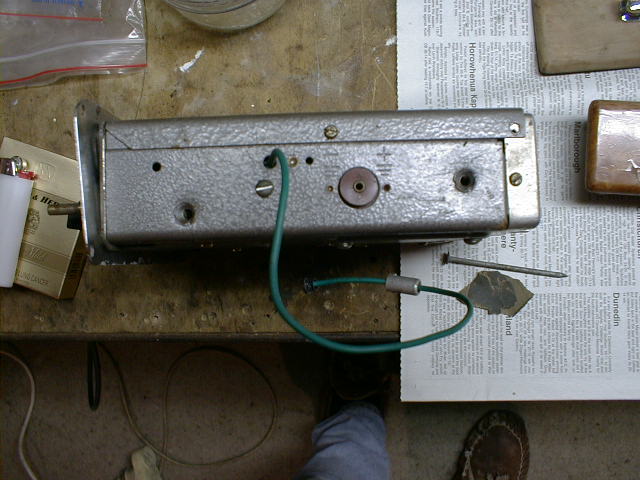
Autocrat Transistor radio - (flash reflected on chrome!) - presumed to be as fitted original in 1964) 
29 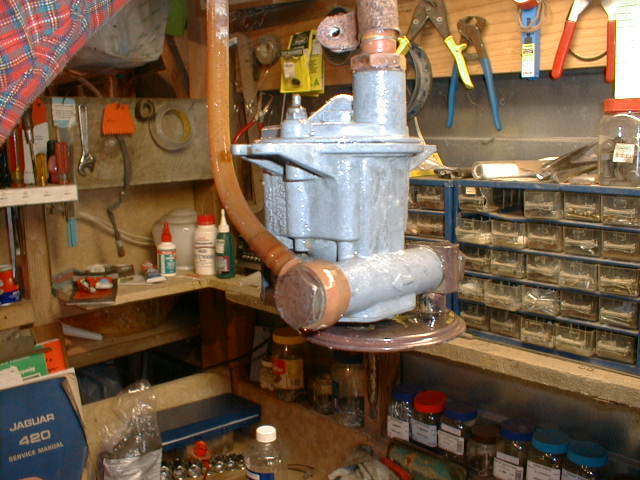
30 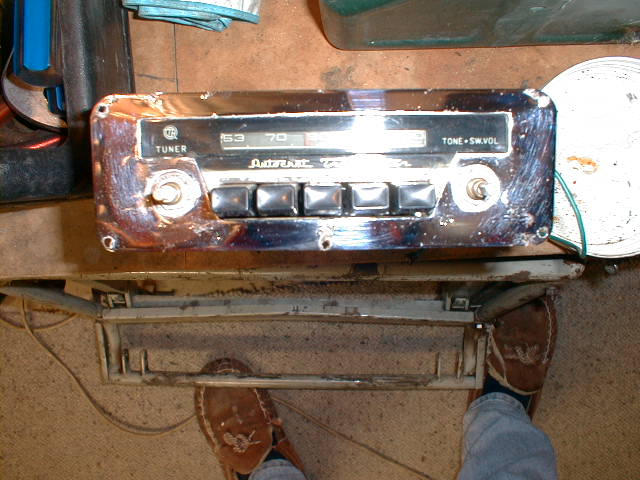
31
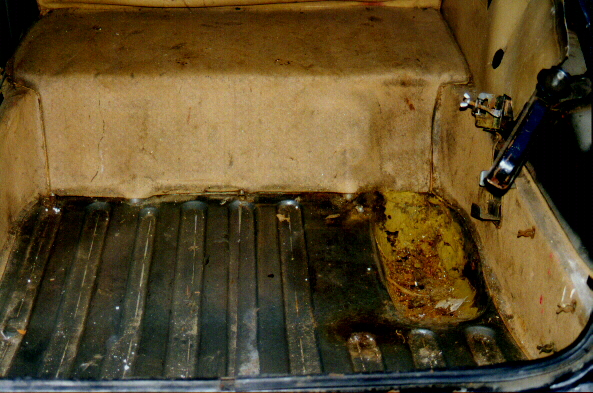
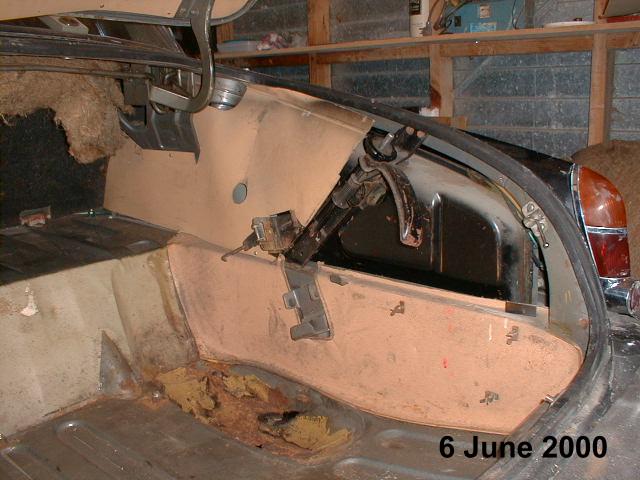
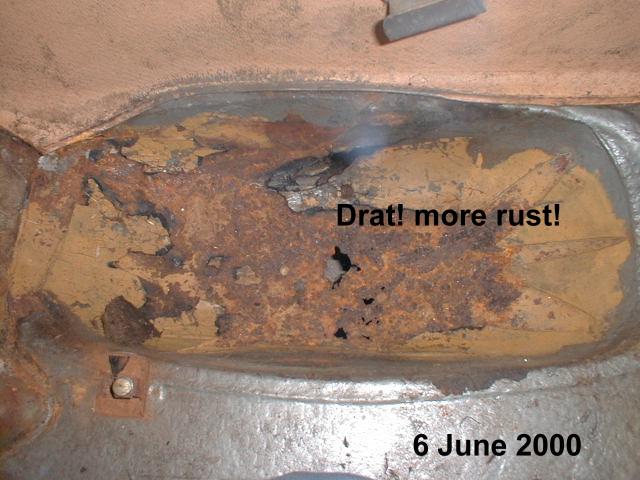
6 June 2000 We've hit the ground running now... If you need expert(!) advice on how to remove and dismantle Mark X fuel tanks and their submersible Lucas 2FR pumps then look no further. I have now done four. In the black beast one tank was mildly gummed up and the pump has been cleaned up and is working again. The I jumped into the other one but was met with three tons of gum and sludge. After some preliminary toohtbrushing I noticed lots of fine grey sludge (thinks - Aluminium alloy?) things are not looking good. And they are not. There is a 10mm hole in the side of the pump motor
casing - the old petrol residue has literally eaten away the alloy body
of the pump (or just maybe some electrolytic corrosion?)- it is totally
and irrevocably a heap of sh*t. I trip of useful bits and bin the rest
:((
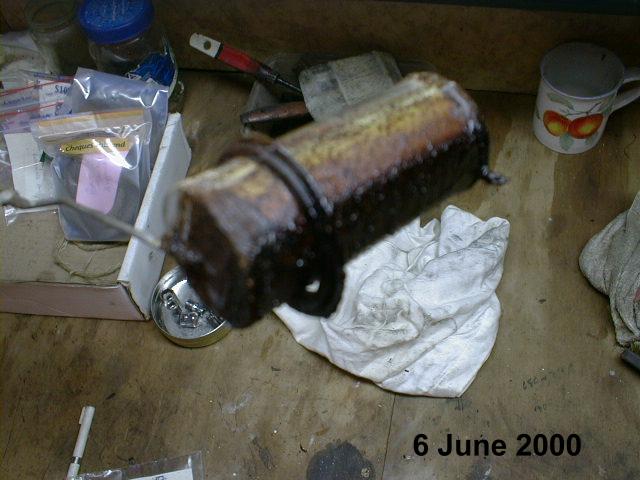
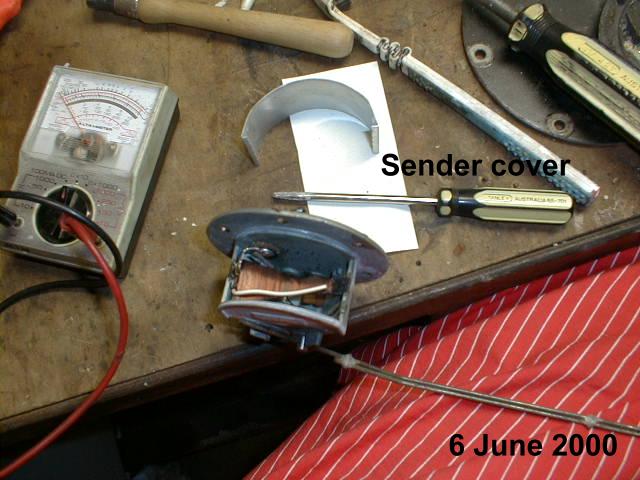
In to No.3 tank (first of two spares, purchased a year ago from Wellington - thanks Dave). The tank is rusted out in the bottom but the pump seemed to be intact. It was, but was as dry as a bone and covered in white dusty corrosion. The dust wouldn't just brush away though it had to be scraped and wire-brushed... Underneath the allow was in good shape but the internals were clogged up with crusty white deposits and a little gum varnish residue. An evenings poking, prodding, scraping and brushing saw all the ports clean and the relief valve freed up. I left the motor part well alone as the spindle was free and with a
careful application of some spare 12v electricity it rotated without
horrible
Last night saw me into No.4 tank hoping we'd have a spare motor... well, it will be but only sort of. Some of the alloy has been eaten away but the internals seems intact. It is sitting a bin now as spares fore that rainy day... Tonight was the grand test. Jug, petrol and battery on standby. Jug
filled with petrol and outlet pipe into petrol can. Pump no.1 in jug, electric
Pump no.2 underwent the same treatment and we're firing on both!
All I now need to find out is if the local gasket shop can make me up
two sets of new rubber gaskets for the pumps. The old one seem OK but they
are hard and thin and it would be nice to have new ones while we have the
The pumps are very very simple affairs, a spinning plastic disk with
toothed edges shoves the petrol up the spout. a return tube goes back to
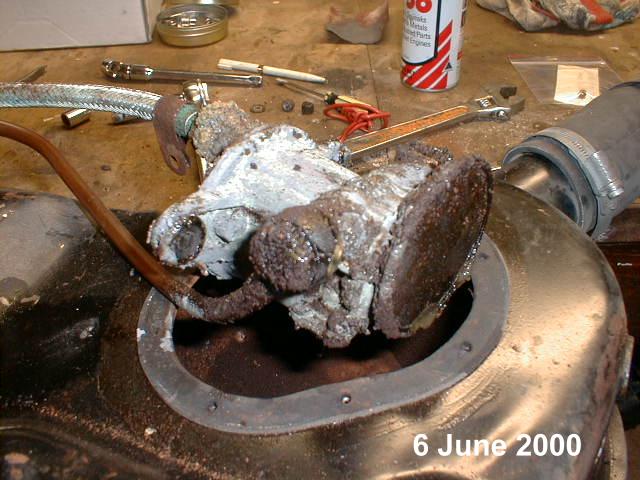
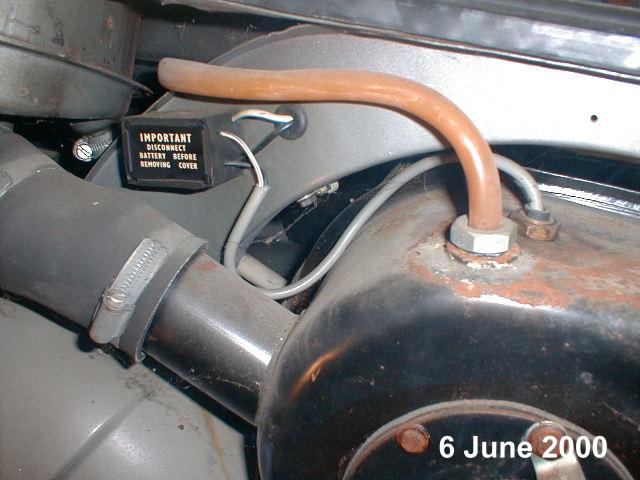
41 Under the sludge is a Lucas 2FR fuel pump! sanding and a lick of paint on the outside should see them sweet. It's cold and wet down here - wish it was spring again! More soon Same channel Neil & John (Auckland NZ) MkIX 1960 - MkX 1964 - Mk10 '65 420 '67 - MkV 1950 Jaguars@clear.net.nz
| |||||||||||||||||||||||||||||||||||||||||||||||||||||
|
| ||
 |
Improve your Jag-lovers experience with the Mozilla FireFox Browser!
©Jag-loversTM Ltd / JagWEBTM 1993 - 2024 All rights reserved. Jag-lovers is supported by JagWEBTM For Terms of Use and General Rules see our Disclaimer Use of the Jag-lovers logo or trademark name on sites other than Jag-lovers itself in a manner implying endorsement of commercial activities whatsoever is prohibited. Sections of this Web Site may publish members and visitors comments, opinion and photographs/images - Jag-lovers Ltd does not assume or have any responsibility or any liability for members comments or opinions, nor does it claim ownership or copyright of any material that belongs to the original poster including images. The word 'Jaguar' and the leaping cat device, whether used separately or in combination, are registered trademarks and are the property of Jaguar Cars, England. Some images may also be © Jaguar Cars. Mirroring or downloading of this site or the publication of material or any extracts therefrom in original or altered form from these pages onto other sites (including reproduction by any other Jaguar enthusiast sites) without express permission violates Jag-lovers Ltd copyright and is prohibited |
|


