Sway Bar Bushing/Rubber Replacement
Henry Fok, photos by Larry Karpman
This task is really quite simple. You do not need to remove the front
springs, shocks, or anything else. You can easily do this in your
driveway in under an hour per side.
The car in these pictures is my 1985 XJ6 VdP, named Molly - and of
course, the ugly galoot in the pictures is yours truly. This
information applies to the Series III only - other Series are
similar, but I can't guarantee that they'll be identical.
For this task, you will need a ratchet, a 9/16" socket, a couple
of long (6" or more) extension bars for the ratchet, and a 9/16"
combination wrench.
You may click on any picture to see a much larger version. This
FAQ is not a substitute for a workshop manual. It is intended as a
supplement, to give you some idea of what things look like and what
the manual is talking about. Therefore, not all the details will be
given.
***
Loosen the lug nuts on the appropriate wheel. Jack the car up and
support it properly. Instructions on how to do this are elsewhere in
the FAQ's, so I will not reprise that information here.
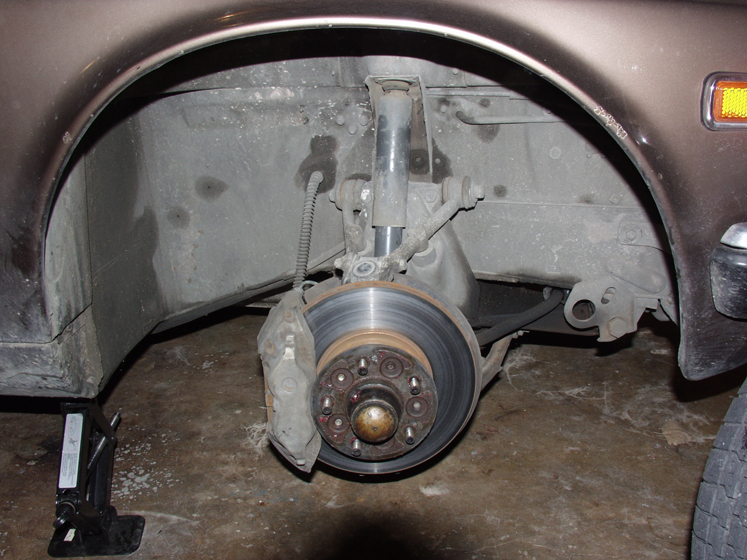
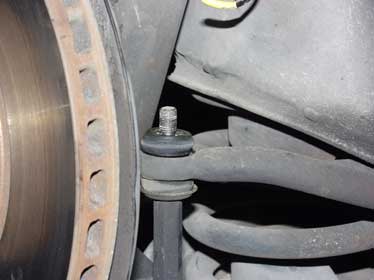
Remove the wheel. What you see should look something like the
following picture. The picture shows a car that is improperly
supported. Do not attempt to service your car while it is supported
by a jack. This was done for photo purposes only, please do not
endanger yourself by doing this.
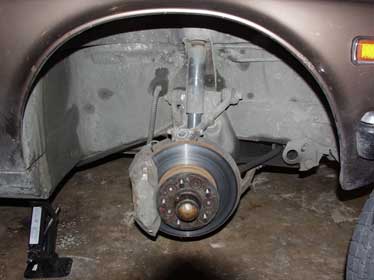
You see the sway bar link clearly presented, in front of the stub
axle. The sway bar bushing is also clearly visible, underneath the
chassis rail.
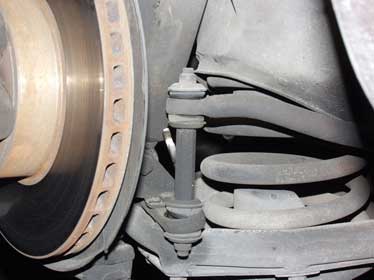
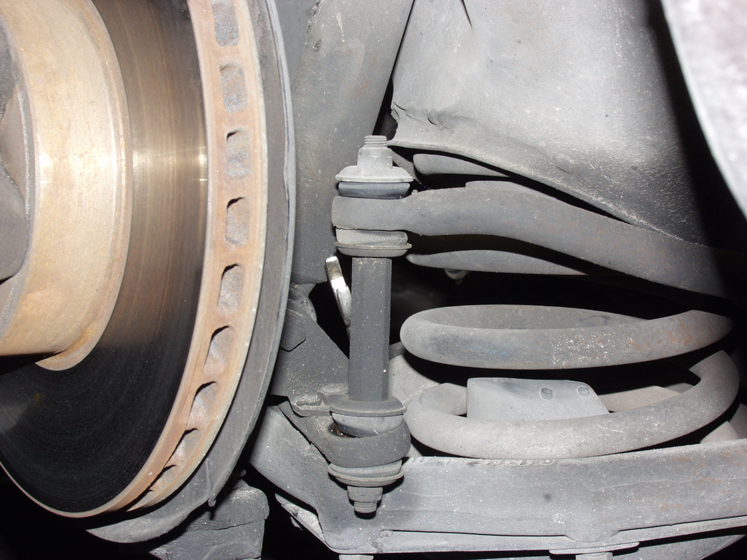
Remove the top nut on the sway bar link. Then remove the bottom
nut, and withdraw the link.

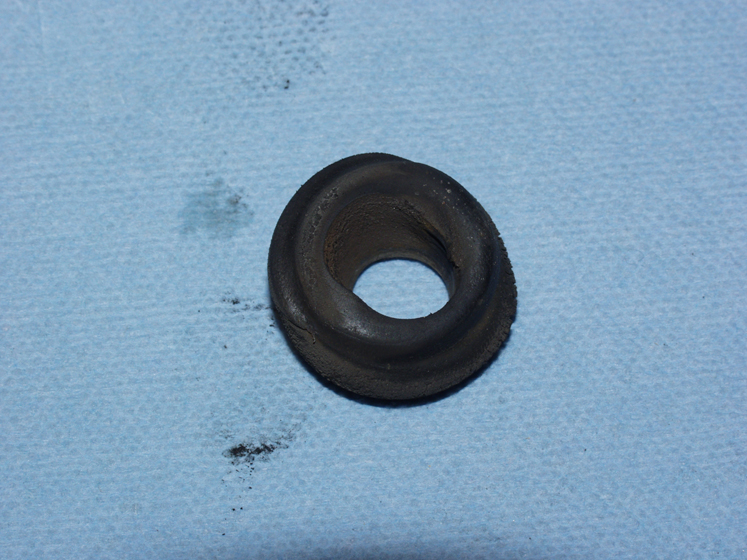
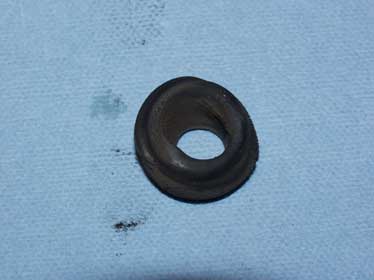
Note how the washers and rubbers are installed. Yes, new ones are
square-cut, and they go in flat, but they torque down upon install to
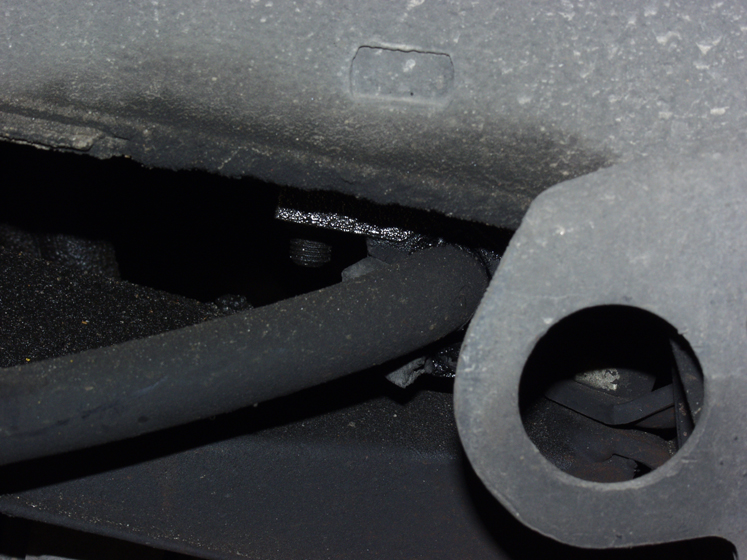
a skewed angle. This is normal. It should be obvious how the bushings
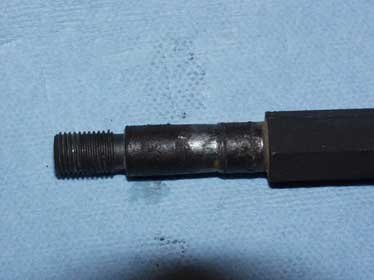
just pop right off the links. If you have let this go for too long,
the sway bar will start chewing into the end link, as shown below.
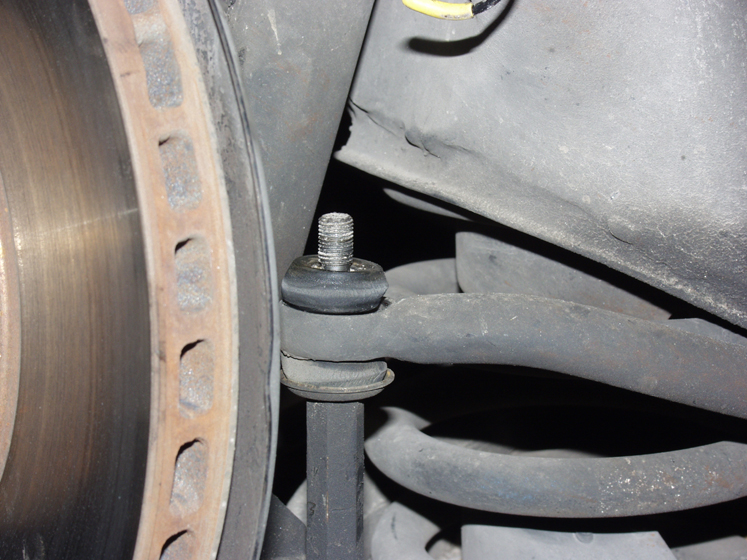
You can rotate them 180 degrees and use them again, if you are
careful and lucky. If you are not, or it is worn almost all the way
through, merely get new ones of the appropriate length from your
local auto parts store. It's a generic link, and commonly
available.
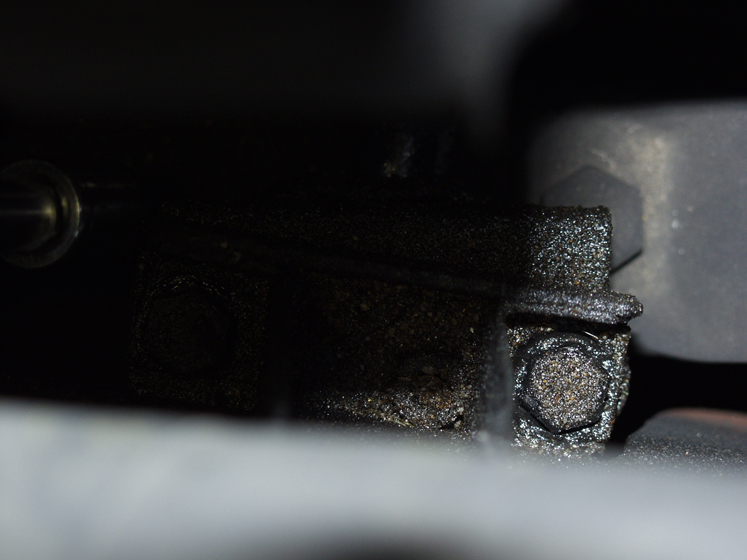
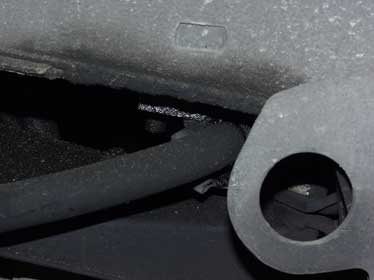
The sway bar bushing is in a clamp attached to the chassis rail.
It is not necessary to completely remove the clamp to remove the
bushings. You have to remove the rear most nut, loosen the front nut
about 2/3rds of the way down, then you can use a pliers to remove the
remains of the bushing from the clamp. In order to do this, you must
access the bolts from the top. Pictured is the US passenger's side,
viewed from the top. The opposite side is identical. You will have to
remove the air cleaner assembly to get to this. Use the ratchet,
socket, and extensions to turn the bolt from the top while holding
the nut steady with your wrench.

Grease the bushings well with chassis grease. And, as they say,
installation is the reverse of removal.