| ||||||||||||||||||||||||||||||||||||||
| ||||||||||||||||||||||||||||||||||||||
|
Jaguar XKE Tech Tips Many following tech tips were compiled from the member's of e-type Digest from jag-lovers.org. There are no implied guarantees. These suggestions are from other XKE owners on how they solved similar problems or challenges and may illustrate varied and occasionally contradictory conclusions to the same problem. Please forward any questions, comments, criticisms, or suggestions to mhicks@mathe.com. Commercial use is strictly prohibited. Ó Copyright 1998 by Mark Hicks. Legal Restrictions
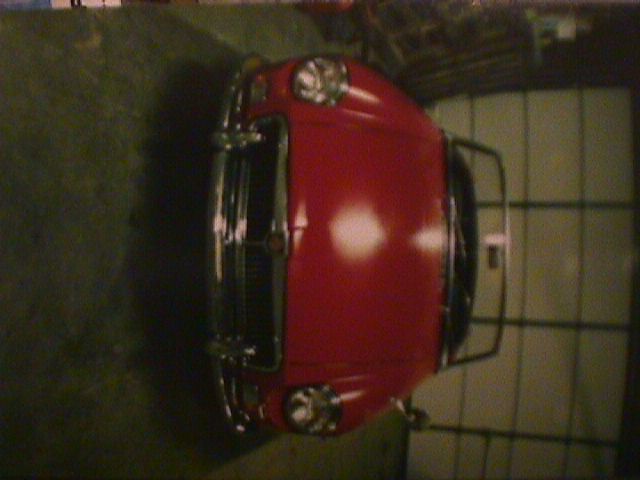
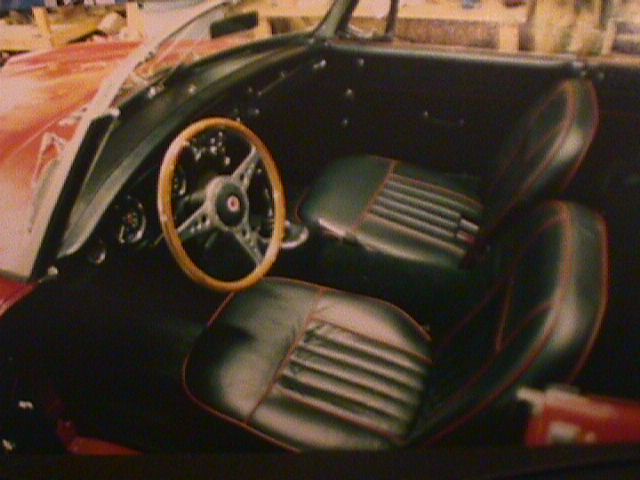
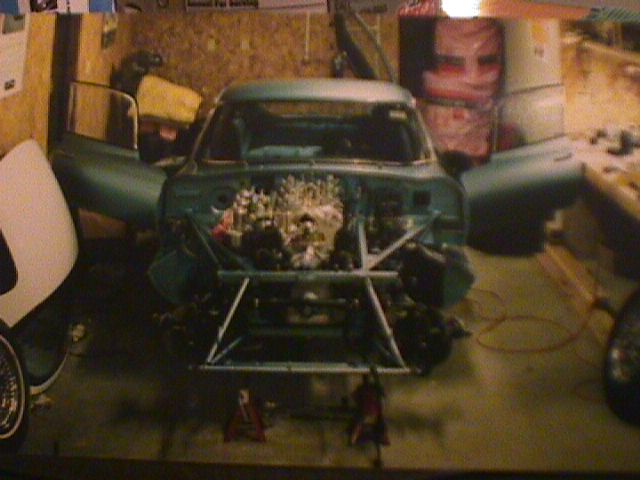
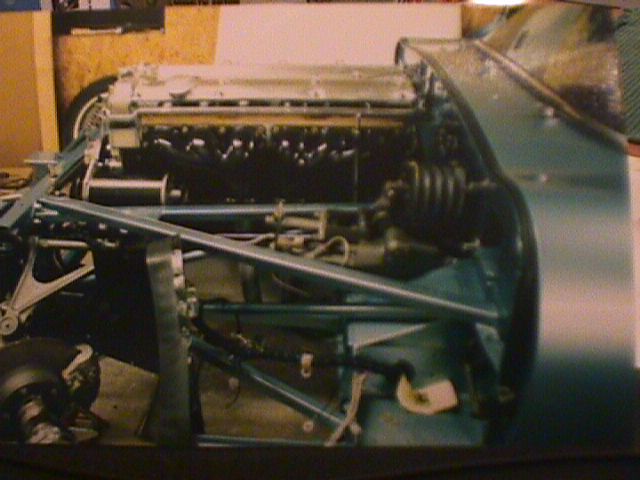
RUSTPROOFING THE CAT This is the story, steps, and photos of how Jim Carney rust-proofed his E-type. Click on the highlighted text to see the photo.
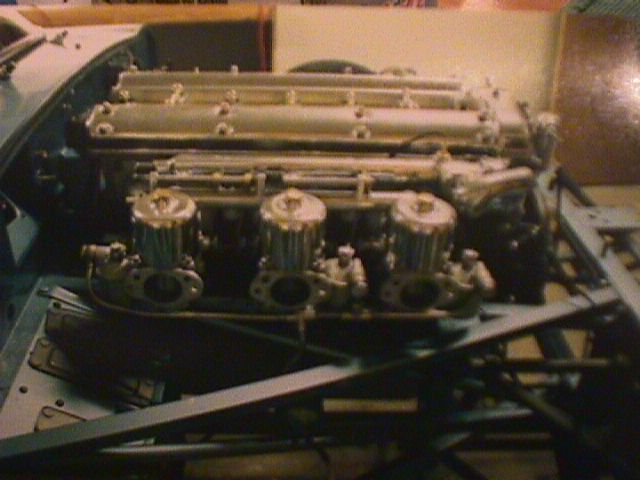
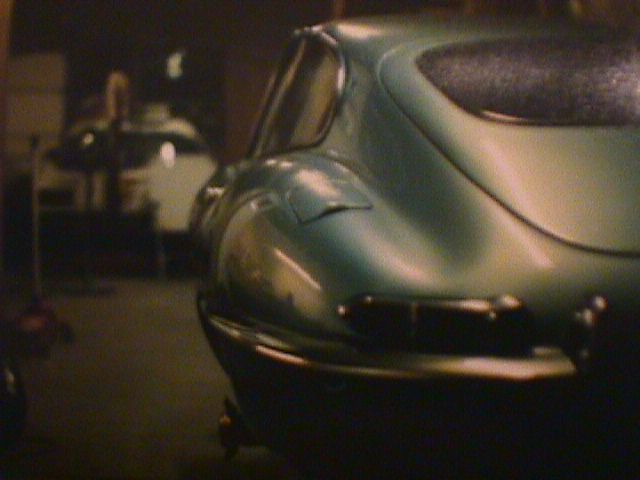
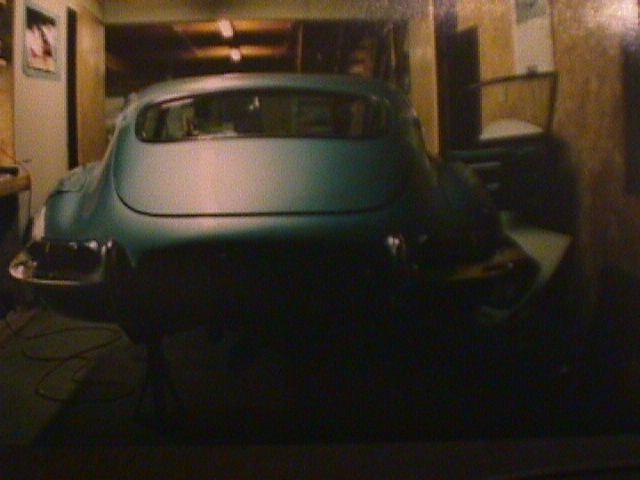
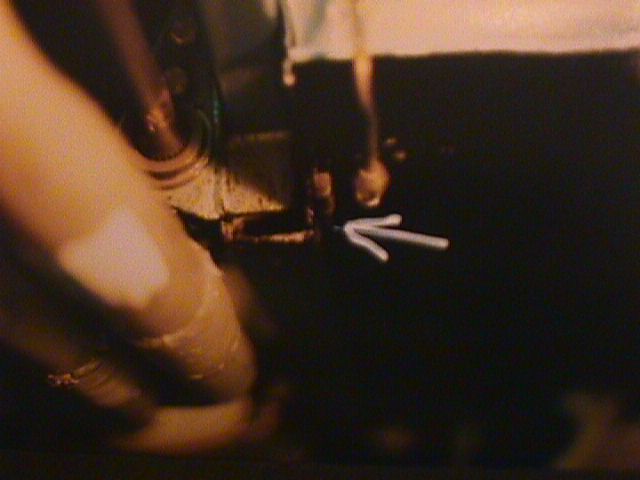
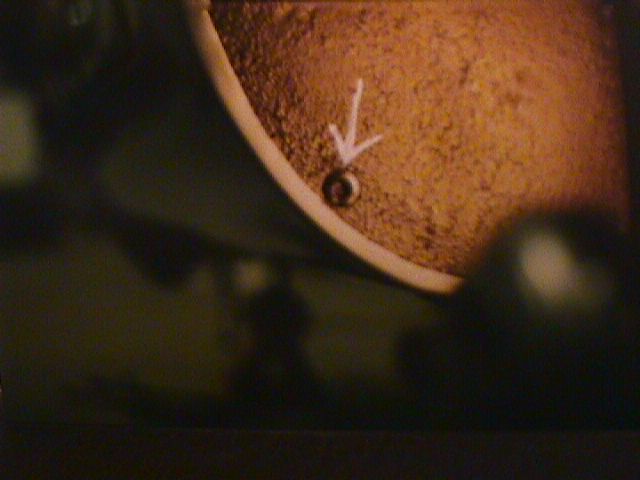
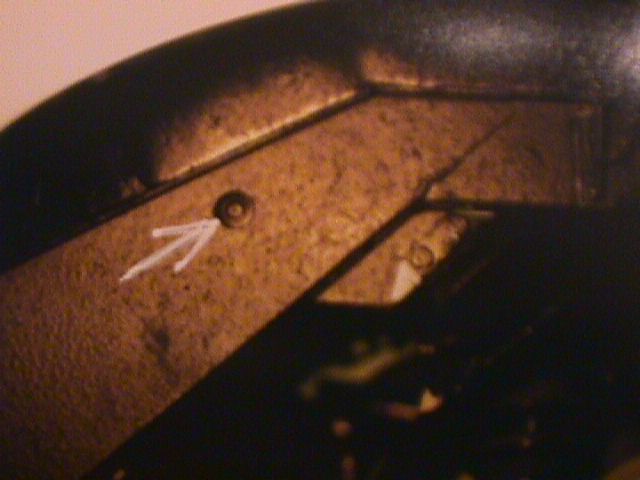
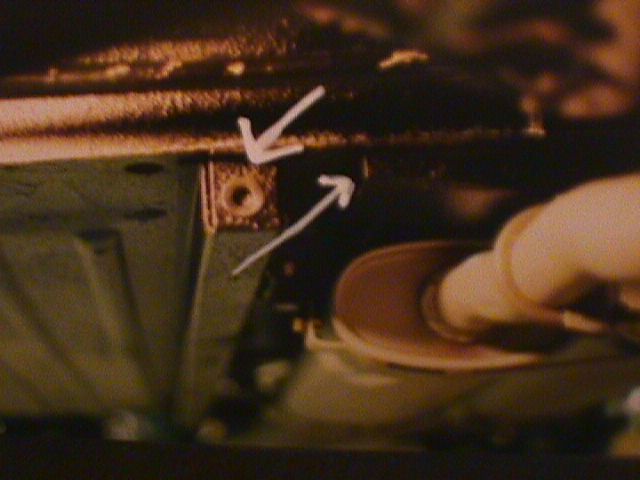
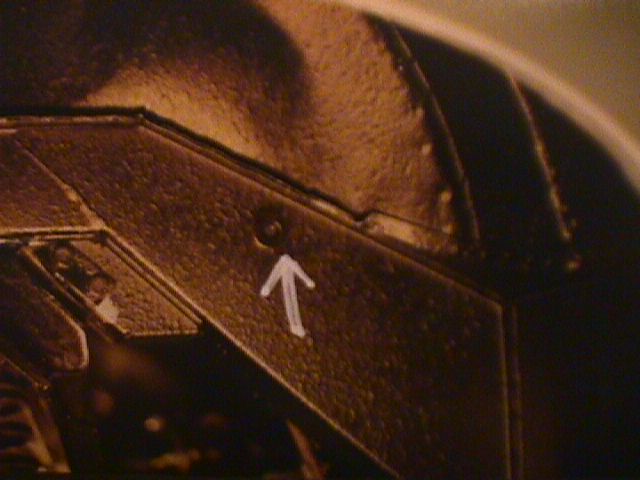
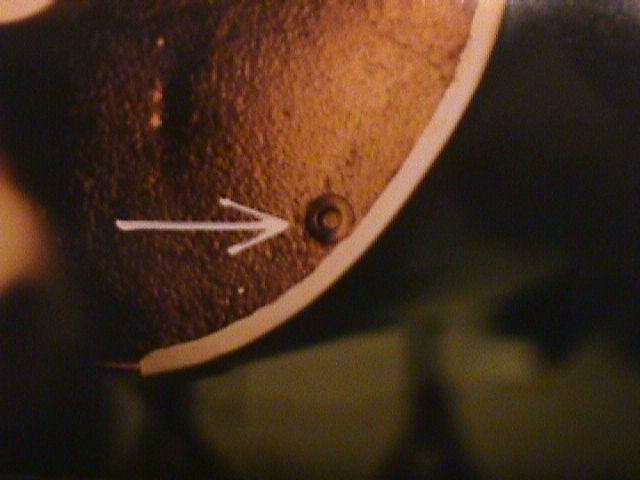
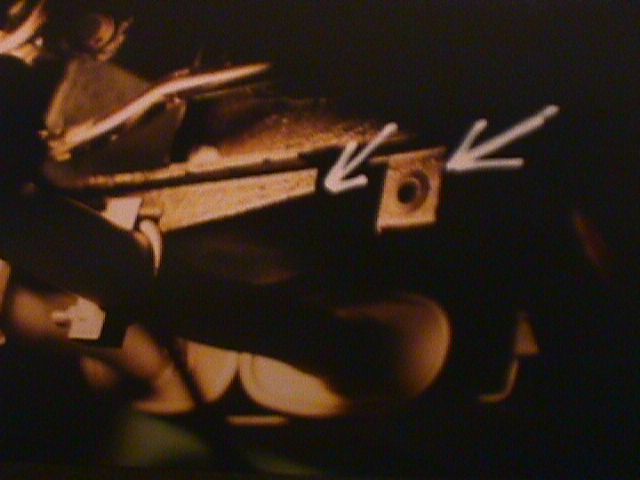
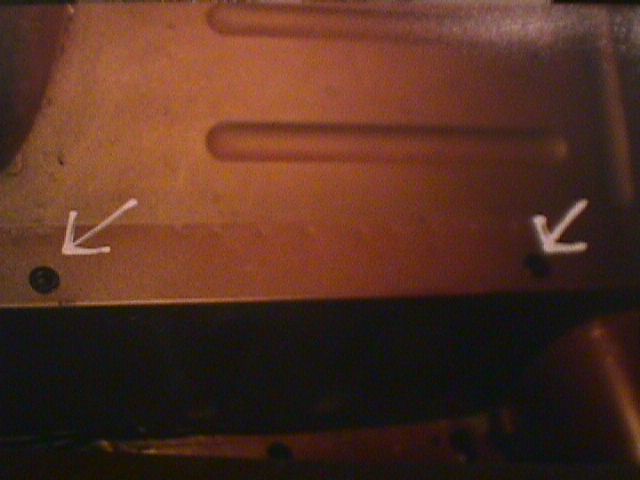
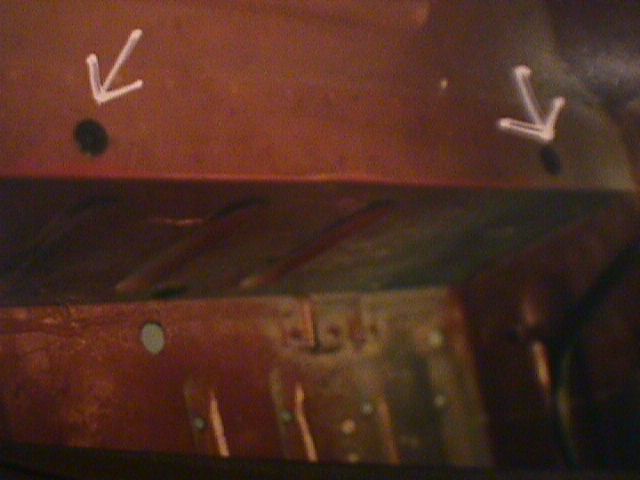
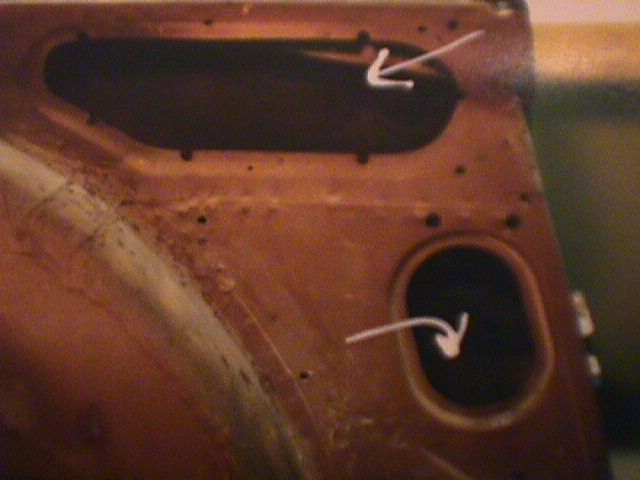
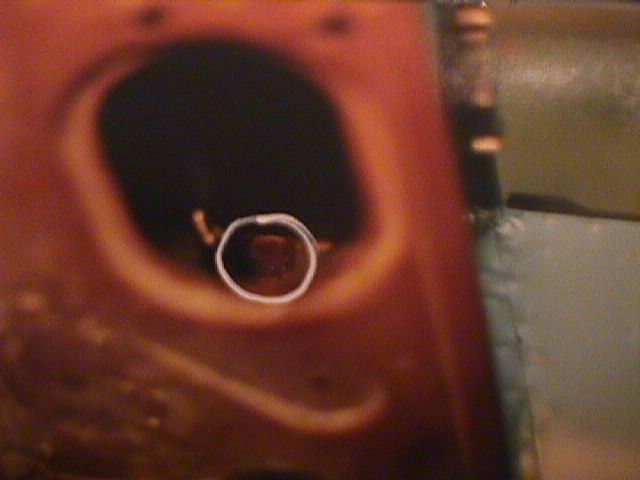
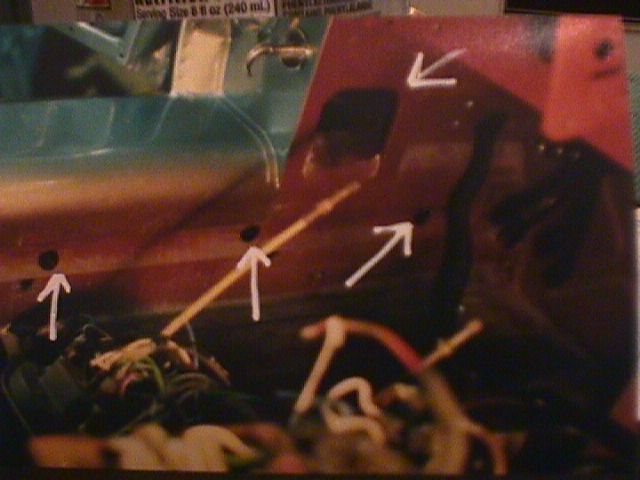
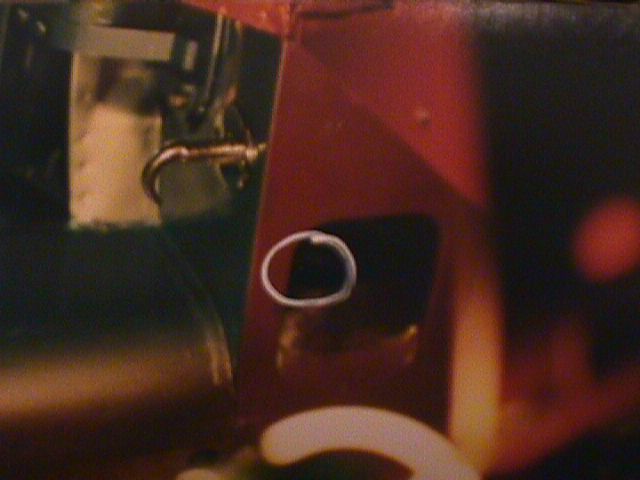
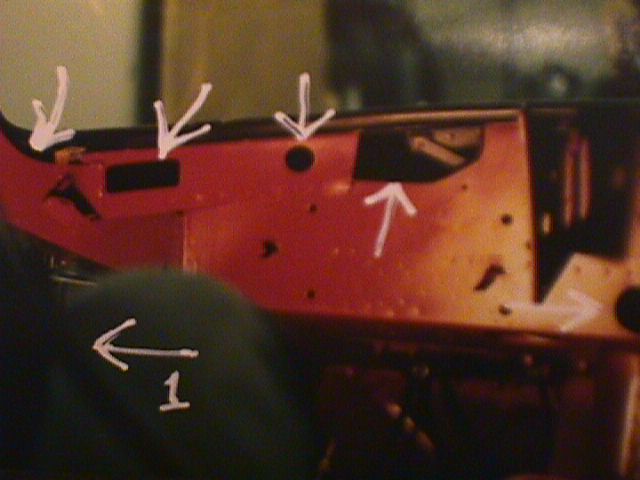
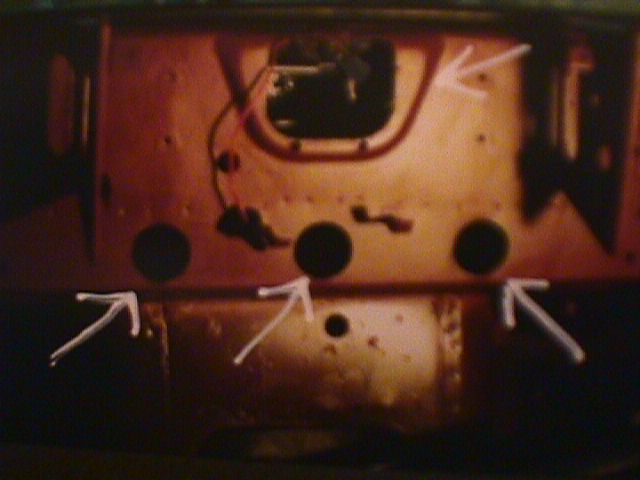
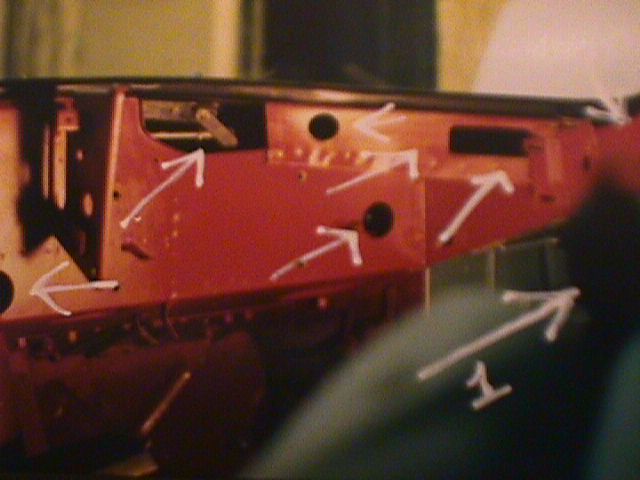
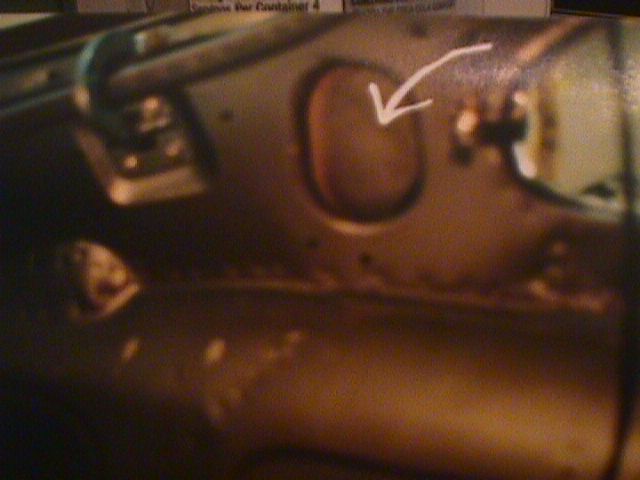
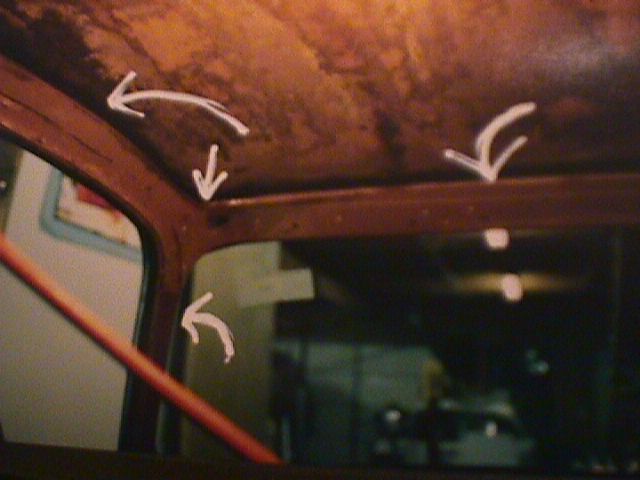
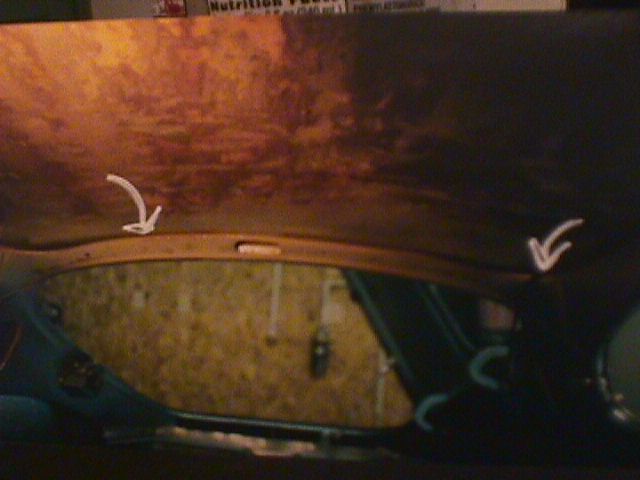
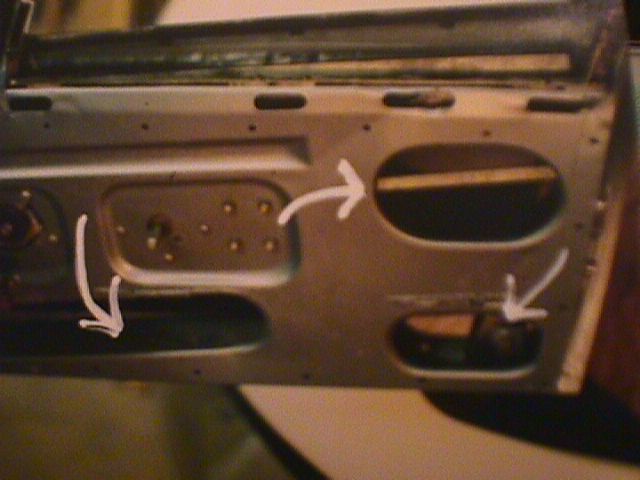
The stuff I used was "Anti Rust" from Eastwood, (800-345-1178 or www.eastwood.com). I took a look at some "Rust Fighter" by 3M the other day & it looks & smells like the same stuff only thinner. The applicator, hole cutter (unibit - this makes a VERY neat hole) & plugs were from Eastwood too. I set the plug over the hole, placed a 3/8 bolt in the center & tapped it home with a hammer. Very neat & very tight. After taking the photos, I brushed undercoat over the external plugs to seal. After reviewing the photos, I realized I missed a photo of one spot. There is a box that runs across the car on the inside, on the floor, just about under your thighs. I drilled 2 holes on the driver's side & 2 more on the passenger side in to the top of this box, and applied the goo. The photos are numbered on the back. I've put arrows on the front pointing to various holes. Where ever you see a plastic plug, I created or enlarged a hole. I used about a gallon of Anti Rust. Overkill? nahhh. The following comments are numbered to correspond to the photos. A: Welcome to Jim's playhouse. 1, 2, 3, 4, 5, 6: See Jim's other pretty toy 9: Passenger side underneath. Note torsion bar, reaction plate & sump drain for orientation. This is the longitudinal box section that runs under the floor. I was able to get the applicator tube in here after I removed the nozzle. 10: Same spot, driver's side. 11: Driver's side wheel arch looking towards front of car. Located hole as close to center of arc & outside panel in order to avoid internal brace in the sill. Protected the paint from possible collision with the drill chuck by folding up a rag & keeping it between the chuck & the paint. 12: Driver's side wheel arch. 13: Driver's side. Other end of picture #10. Note also the reinforcing brace above mufflers. It is open ended & required no drilling. 14: Passenger side rear wheel arch. Mirror of photo # 12. 15: Passenger side rear wheel arch looking towards front of car. Mirror of photo #11 16: Mirror of photo #13, other end of photo #9. 17: Passenger compartment, passenger's side rear bulkhead. Note driveshaft tunnel at bottom right of photo for orientation. 18: Driver's side rear bulkhead. 19: Bottom entry to photo #17. Can spray inner top of bulkhead from here. 20: Bottom entry to photo #18. Holes 19 & 20 were already there. 21: Driver's side between door & wheel arch. I seem to be missing about 9" here! These two holes are separated by an internal panel. The upper one allows access to much of the area above the wheel arch. Major RUST zone. 22: This is a closeup of the lower hole in picture #21. I have circled an existing hole that leads to the inside of the sill, just above the internal brace. 23: Driver's side. I drilled these to gain access to the front part of the sill. I found no acceptable place to gain access from the front of the car. 24: Closeup of upper hole in photo #23. Note access to sill similar to photo #22. 25: Note Jim's right knee holding drop light. This is the dash area. It is made up internally of at least 2 separate boxes. I put stuff in every hole I found. Will probably smell funny when (if?) I turn on the heat. Far left arrow points to a channel within the A pillar. Next 2 arrows point to a roughly triangular brace "box". 26: Area behind the "drop down" portion of the dash. Where the fuses are. 27: Note both of Jim's knees holding drop light. Mirror of photo #25. 28: Passenger side above rear wheel. The brown slimy looking stuff is the Anti Rust. 29: Access to the rear of the wheel arch & inner C pillar. Also access to inside of rear panels. 30: Driver's side rear. 31: Mirror of photo #28. 32: Above driver's door & windshield. Note also the A pillar inner channel access. 33: Mirror of photo #32. 34: Passenger's side roof. 35: Looking out the rear hatch. 36: Access to inside of door.
|
|
| ||
 |
Improve your Jag-lovers experience with the Mozilla FireFox Browser!
ęJag-loversTM Ltd / JagWEBTM 1993 - 2024 All rights reserved. Jag-lovers is supported by JagWEBTM For Terms of Use and General Rules see our Disclaimer Use of the Jag-lovers logo or trademark name on sites other than Jag-lovers itself in a manner implying endorsement of commercial activities whatsoever is prohibited. Sections of this Web Site may publish members and visitors comments, opinion and photographs/images - Jag-lovers Ltd does not assume or have any responsibility or any liability for members comments or opinions, nor does it claim ownership or copyright of any material that belongs to the original poster including images. The word 'Jaguar' and the leaping cat device, whether used separately or in combination, are registered trademarks and are the property of Jaguar Cars, England. Some images may also be ę Jaguar Cars. Mirroring or downloading of this site or the publication of material or any extracts therefrom in original or altered form from these pages onto other sites (including reproduction by any other Jaguar enthusiast sites) without express permission violates Jag-lovers Ltd copyright and is prohibited |
|

